Light Painter
Official documentation
![]()
Welcome to the official Light Painter documentation! Here you can learn how to use the Blender add-on and dive into the Python package.
Painting
The painting is done within each tool.
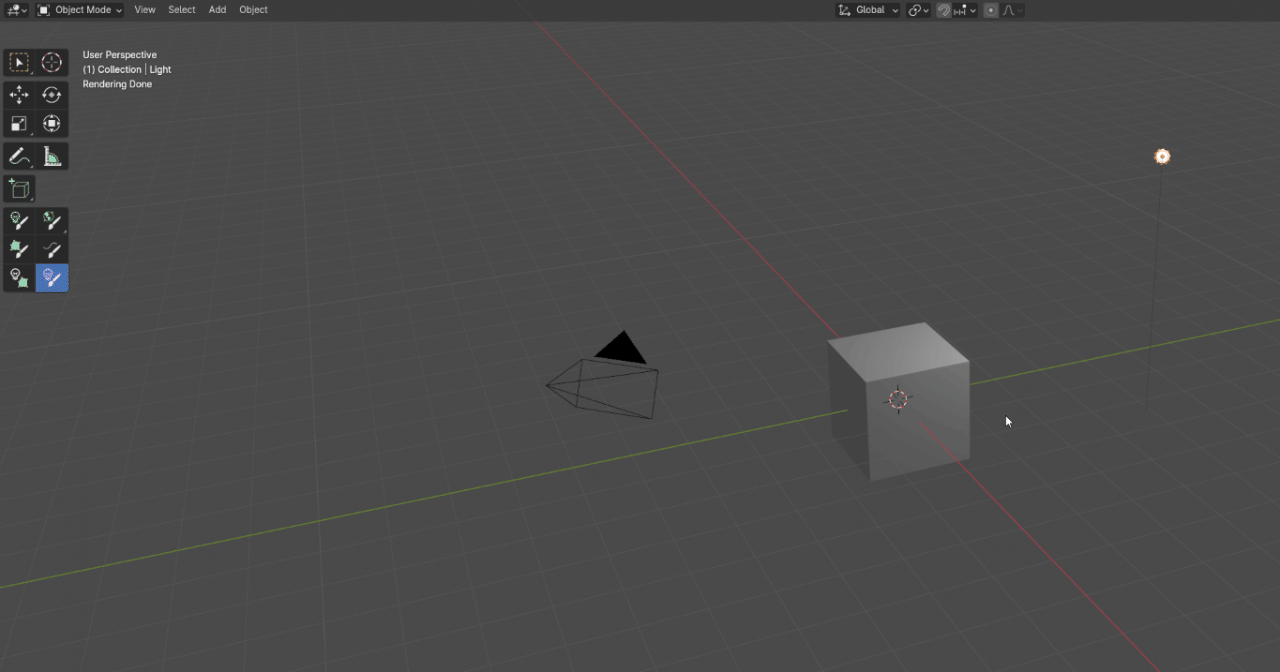
Once installed, you can find these tools on the left-hand side of the 3D view
in the toolshelf (T it the default Blender shortcut to hide/reveal this shelf).
Buttons with a small triangle in their bottom right corner are tool groups,
which can be opened by clicking and holding the mouse on them for a moment
(or click-and-dragging to open the group instantly).
When the tool is selected, left-click the mouse to start the tool.
From there, you can use the mouse left-click and right-click
to draw and erase marks on surfaces respectively.
Press Escape key to cancel, and the Return/Enter or Space keys to finish using the tool.
Now just paint where you want the light to hit your objects’ surfaces!
What’s the best way to paint?
Some general painting tips:
- You do not need to paint the entire surface. Draw a few simple strokes over surfaces that you’d like highlighted by your light.
- For tube lights, use the right click button to end the current stroke and start a new one - this is to make a separate tube light.
- Ending strokes is available in other tools for visual clarity, but doesn’t affect the final result.
- Single clicks draw straight lines (useful for geometric shapes), while holding down the mouse button draws all the squiggles.
- Draw on multiple surfaces. The tools can handle most cases where surfaces face different directions, but it will fail if the average direction cancels itself out.
- Spot lamps prefer circular strokes. But if you don’t trust your ability in drawing circles, a painted line representing the diameter is sufficient.
- Area lamps prefer rectangles, squares, circles or a single painted line. You can change the area lamp’s shape in the redo panel.
- Point lamps are the most forgiving, since its rotation is irrelevant.
Now there are keyboard shortcuts to adjust common parameters!
Once you start using a tool, see the 3D view’s header for the keys and their respective commands.
Some keys, like for the light’s offset/distance or power, go into an adjustment mode.
Simply drag the mouse left and right to adjust the amount.
You can use the Shift and Ctrl keys while dragging to add precision or snapping.
Light Paint
You can choose between the main light types (for the sun lamp, see “Sun and Sky Paint”): point, spot, and area lamps.
Like with any of the tools, you can press F9 or click the collapsed Redo Panel
in the bottom-left corner of the 3D view to tweak parameters, such as:
- Light color.
- Light distance and power. For lamp objects, a “Relative” toggle is available. When enabled, this allows you to adjust light coverage and falloff by adjust the lamp distance, without affecting apparent brightness.
- Ray visibility settings, to tweak light or object visibility for diffuse, specular, or volumetric rays or shaders. Note that these ray visibility settings will be dependent on your render engine’s implementation, as Eevee and Cycles handle visibility differently or may ignore it.
Adjust Lamp
This is a separate tool where the modal adjusts the currently active lamp instead of adding a new one. Its parameters are similar to the Light Paint tool. You can find it with its purple lamp icon.
Mesh and Tube Light Paint
You can also create mesh lights. Note that they use emissive materials, which may not behave the same in all render engines. They have similar parameters as the lamp tool, along with a few extra.
Mesh lights create a convex shape from the strokes you drew. This tool has an extra parameter to flatten the hull into a plane.
Tube lights turn each stroke into a “tube” of light - great for neon lighting. Remember to use the right click button to end the current stroke and start a new one. This tool has extra parameters to merge tube vertices by distance (for a smoother tube path), and subdivisions for the tube path or its resulting surface.
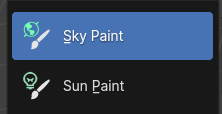
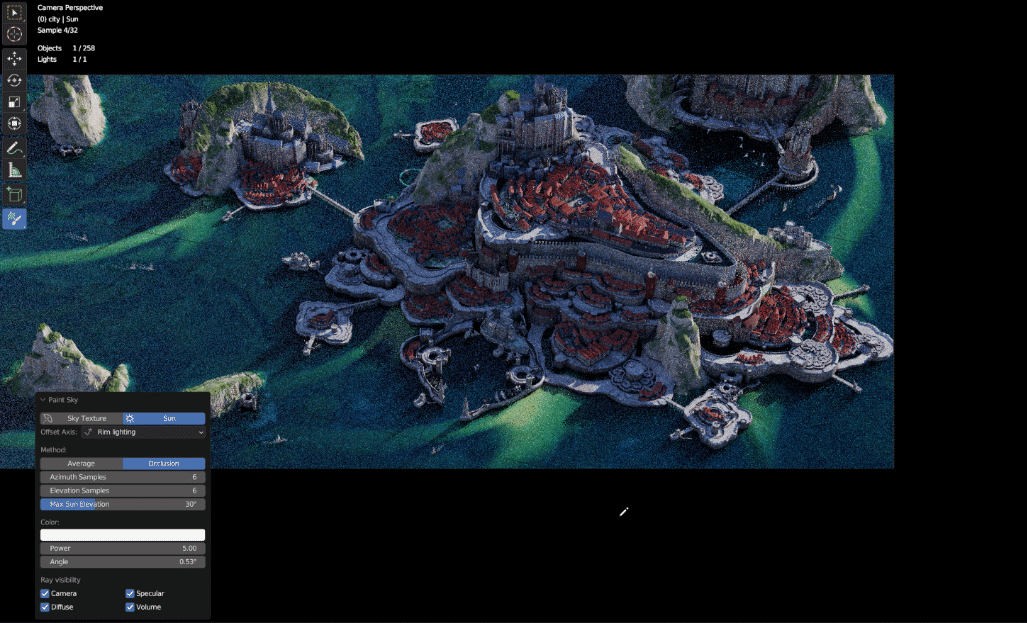
Sun and Sky Paint
The Sun Paint and Sky Paint tools both enable straightforward environment lighting.

There are two options to determine direction: “average” - which just takes the mean normal of the annotations, like all the other Light Painter tools - and “occlusion”. The latter imitates a sun above the horizon. For the number of samples given, the operator will iterate over different sun positions and check how much of your strokes will be lit from that angle. After iterating over all the samples, the operator will choose the best position based on how closely it matches the average normal and the percentage of your strokes hit.
However, this scoring may result in noonday lighting from above. To give you more control, the “Max Sun Elevation” parameter lets you specify the max elevation of the sun. This can force the operator to only sample the sun at lower elevations, giving more dynamic lighting.
Shadow Paint
Flags can be painted to cast shadows on surfaces. Note: you must select lamps to flag before running the tool. It takes the surfaces drawn and generates makes a convex mesh hull to block the light. Parameters can be changed such as position, the flag’s color (for bounce lighting) and opacity.
- First, add the lights.
- Select the lights you want to flag.
- Run the Flag Paint tool. Paint surfaces you want darkened. These annotations will be considered edges of a convex hull.
- Finish the tool by pressing Enter. This will add a flag for each light.
Currently, flags for sky textures are not supported.
Procedural Light Gobos
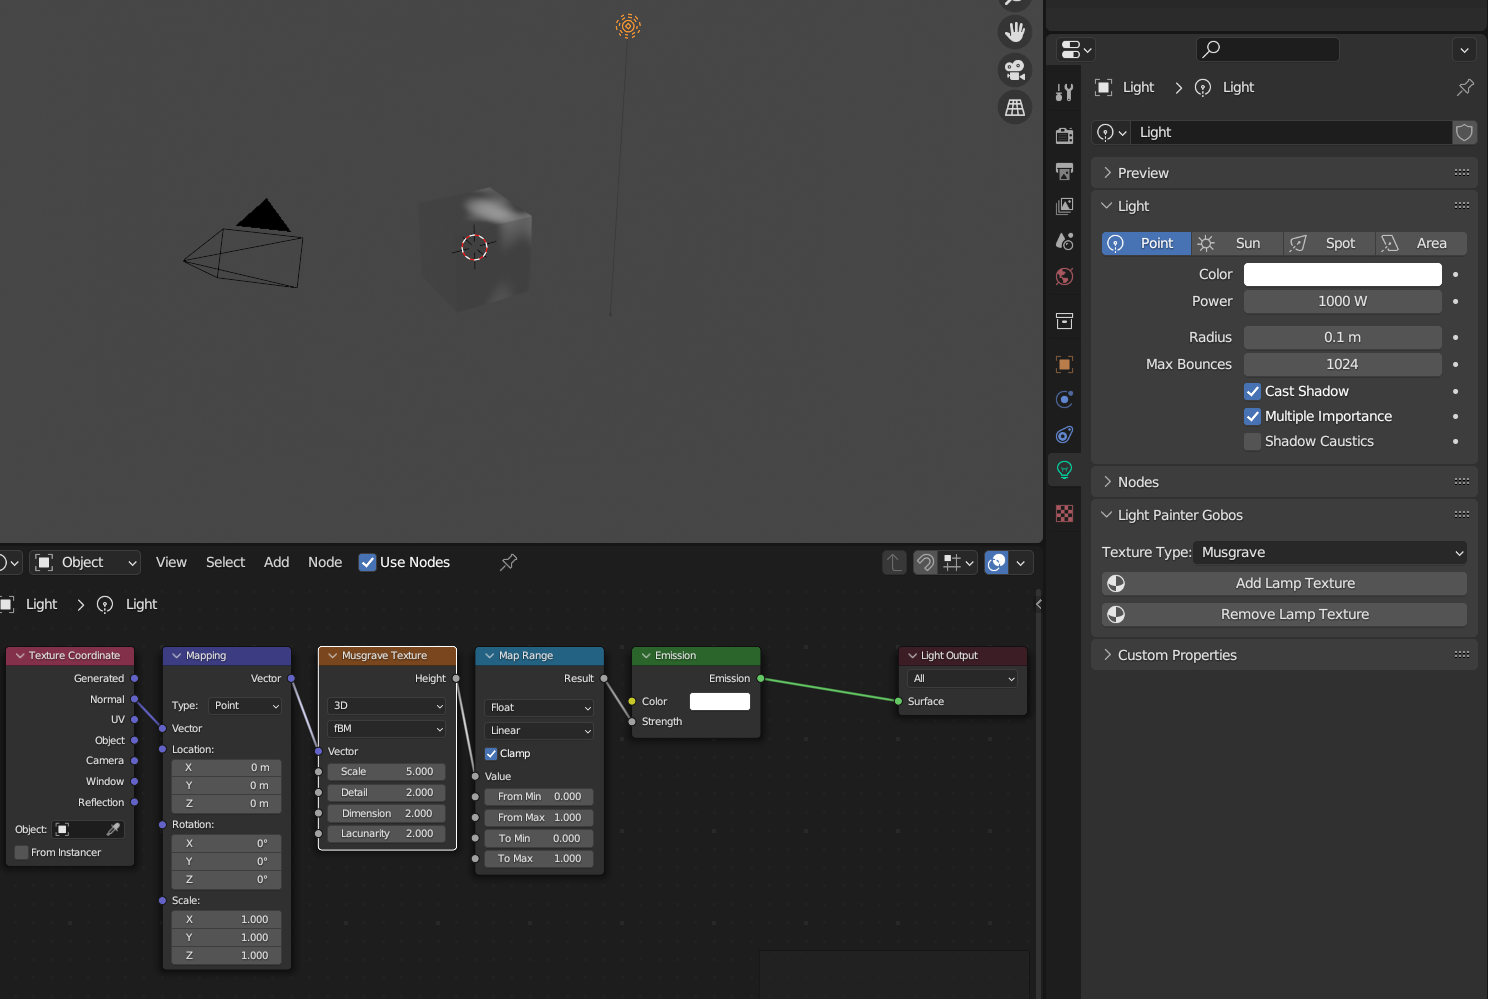
Quickly add procedural textures to point and spot lamps. Since this uses Cycles nodes, it is only supported in Cycles. You can find this panel in your active lamp’s properties. You can choose between the different procedural texture types available within Blender.
Questions or Issues?
Report them through the GitHub issue tracker. Please provide steps to reproduce, and errors from the Blender terminal if applicable.